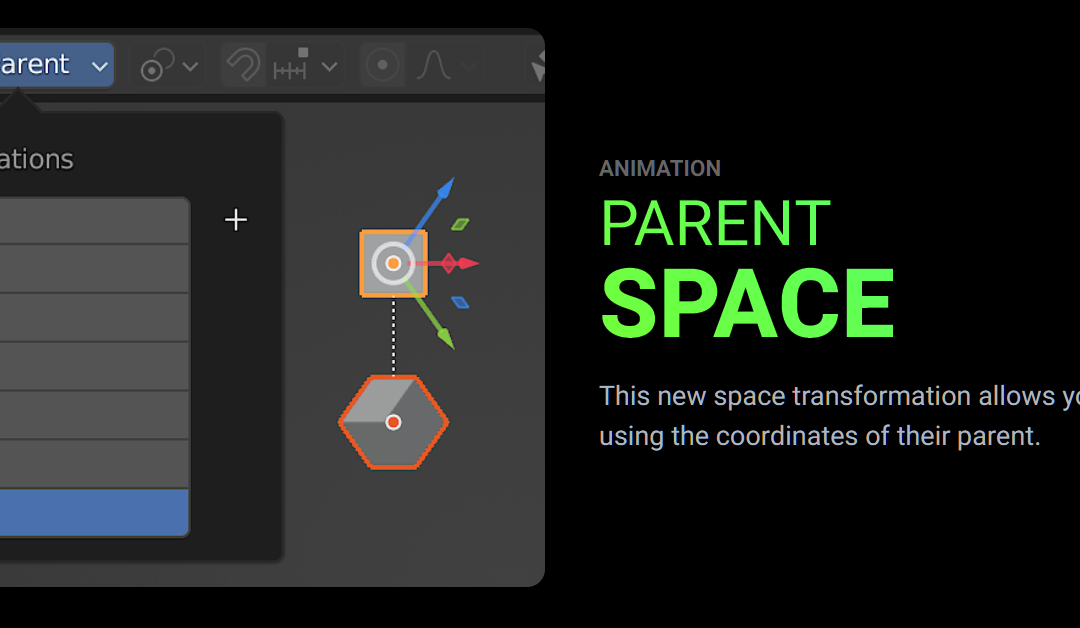
Blender 3.6 is out and on the release notes site you might have seen an update about the new Parent Space (see image above) and wondered what it has to do with rigging, or animation, and how to use it. This tutorial is meant to clarify those things.
One quick thing before we get into it. I met Nathan, the developer who added this feature to Blender, a few weeks ago. What a great person. I loved getting to know him and nerding out about Blender development. So Blender does not only give us a great tool to use but also helps us make new friends. Thanks Blender!
Parent Space Space Rig
The description states that by using the new space you are able to transform objects using the coordinates of their parent. In practice, that just means your transformation gizmo gets aligned with the object’s parent instead of the object itself.
We never had this option before. We could make a custom orientation created from the parent but it would not be automatically update as the parent’s transformation changes.
When it comes to rigging, the biggest benefit of having the new space comes from combining this feature with disabling of the Local Location toggle on a bone. To better understand what that means, let us take a look at a simple IK arm rig. And let us say the animators wants to move the arm up. See video below. Since the IK control is at an odd angle, instead of getting a translation in the Z channel, they get a translation in X and Y.
The reason for this is that the bone, by default, uses a local space. Meaning its transformation is based on how the bone itself is oriented. A solution for this could be to simply orient the bone so it matches the world axes. That way the bone’s Z is the same as world Z and the animator would get the expected results. But that creates a new problem, now the rotation of the control is not aligned with the hand. So by fixing the translation, we ruined the rotation. See video below. Notice that I we needed a buffer bone between the hand and IK controls. Since their rotations are not matching, I couldn’t use Copy Transforms directly between the two as that would offset the hand bone.
The ideal solution to this problem would be to have one orientation for rotation and a different one for translation. That way we can move the bone with its axes aligned to the world, and rotate with axes aligned with the hand. And this is exactly what we will do. And setting it up is a matter of a click of a button. Select the IK control bone and in Bone Properties, find the Relations tab. Here disable Local Location. See video below.
This location and rotation space split on IK controls is a must have for every rig. The behavior is something that animators prefer because moving in world space makes sense and they get clean and logical animation curves for both translation and rotation. I strongly suggest you start incorporating it in your rigs if you are not doing this already.
Everything I showed and described has been in Blender for a while actually. But what we didn’t have is the option to use easily visualize a transformation that uses the parent space (i.e. bone has Local Location disabled). This is where the new Parent Space transformation orientation comes in.
In the previous examples, the IK control didn’t have a parent bone, meaning its parent space orientation is aligned with the armature. Since the armature is at its default transformation, its space is equal to world space. So global and parent space transformation are essentially the same thing and the examples don’t showcase the new space well. I have made one more example to demonstrate the new space better.
What the demonstrated setup allows is not just to align a bones translation axes with the world but with any arbitrary transform. In the following example I demonstrate the same setup but now I have a added a parent bone to the IK bone. Which means we can orient this parent however we want and the IK bone’s translation will transform along that bones axes. See the video below.
This might not be the most useful use case for such a setup but it has tremendous potential. I hope it inspires you to create something with it and use it in your rigs. Thank you for reading.
Here is a file that contains the final Geometry Nodes setup applied to an arm.
Use Shortcuts
Here is one final tip, add shortcuts to the Pivot Point and Orientation modes to something you can reach without moving your left hand too much. I personally use Alt+1 and Alt+2 respectively. This allows me to decide in the moment how to perform the transformation and easily switch between the different modes. Below is a quick video that showcases how easily you can perform any transformation once you get used to using the different options.

Armen, thank you for being there 🙂
Sorry, I made a typo. That’s right “Armin”, I know 🙂
sorry, I made a typo in the previous comment. That’s right “Armin”, I know)